Tuesday, September 25, 2012

How to Replace Knit Cuffs, Collar, and Waist Band on a Denim Bommer Jacket

Jacket Waist Band
Jacket Sleeve Band
Jacket Waist Band
Jacket Collar
My husband asked me to fix his Denim Bomber Jacket that had severely frayed cuffs, collar, and waist band.  It his favorite fall and spring work jacket. As you can see from these pictures it definitely has seen better days.   I love to deconstruct, repair, and reconstruct garments.  I even like to put new zippers in jeans.  You can really learn allot on garment construction from repairing (mending) garments doing this.  If I loose you on any of the steps detailing this process contact me and I will explain.

Iron Seam--Lint roller
Use Snips to remove Stitches
First disassemble the garment in the areas that need to be repaired.  I use a pairs of sewing snips to do so.  Seam rippers will also work. After all items to be repaired (or just one item a time) are removed, press all seams and remove all loose threads ( A lint roller helps). 


Pin Collar on Fold use Old collar  as Pattern
New Collar before Pressing
I used a flat stretch knit for all the pieces.  New cuffs are available in larger fabric stores, for this work coat, I used what I had on hand. Cut the pieces positioned with the greatest stretch of the fabric which  is the horizontal stretch.  For example on the collar you see the greatest stretch on the fabric will be on the length of the collar.  Also for the waist piece and the cuff.  I always start with the hardest part to do first, then work my way to the easiest part.  You can do this in any order you want.


New Collar after Pressing
Collar Pinned Ready to Sew

Collar Pinning Center Back
Fold the collar in half length wise and press. Fold the collar to find the center back, place pin.  Fold shoulder seams of jacket to find the center back, place pin. Match the center back collar and center back jacket pins and pin together. Pin the end of the collar on the left and right side of the jacket finish pining collar across the left and right side, fold facings back into position and pin those also.   Depending on the way the jacket is constructed you will probably not be able stitch all the way to the ends. There will not be stitches all the way across the facing, you will be able to correct this when top stitching. (See picture below for details of before and after top stitching.) I used a regular straight stitch because I was stitching knit to denim.  My machine was set on the stitch length setting of number 5.  I then surged the seam but you can zigzag the seam to finish it if a surger is not available.  Press the collar seam you just stitched on to the garment toward the back of the jacket to make it easier to top stitch you will see the original pressing seam.  I matched the previous top stitch color so it will  match the existing Top Stitching and  I used thread to match the jacket color in the bobbin; then I stitched exactly the way it was, across the left and right collar facing also.


Before Top Stitching


Before Top Stitching


After Top Stitching


Back Waist Band
Side Waist Band
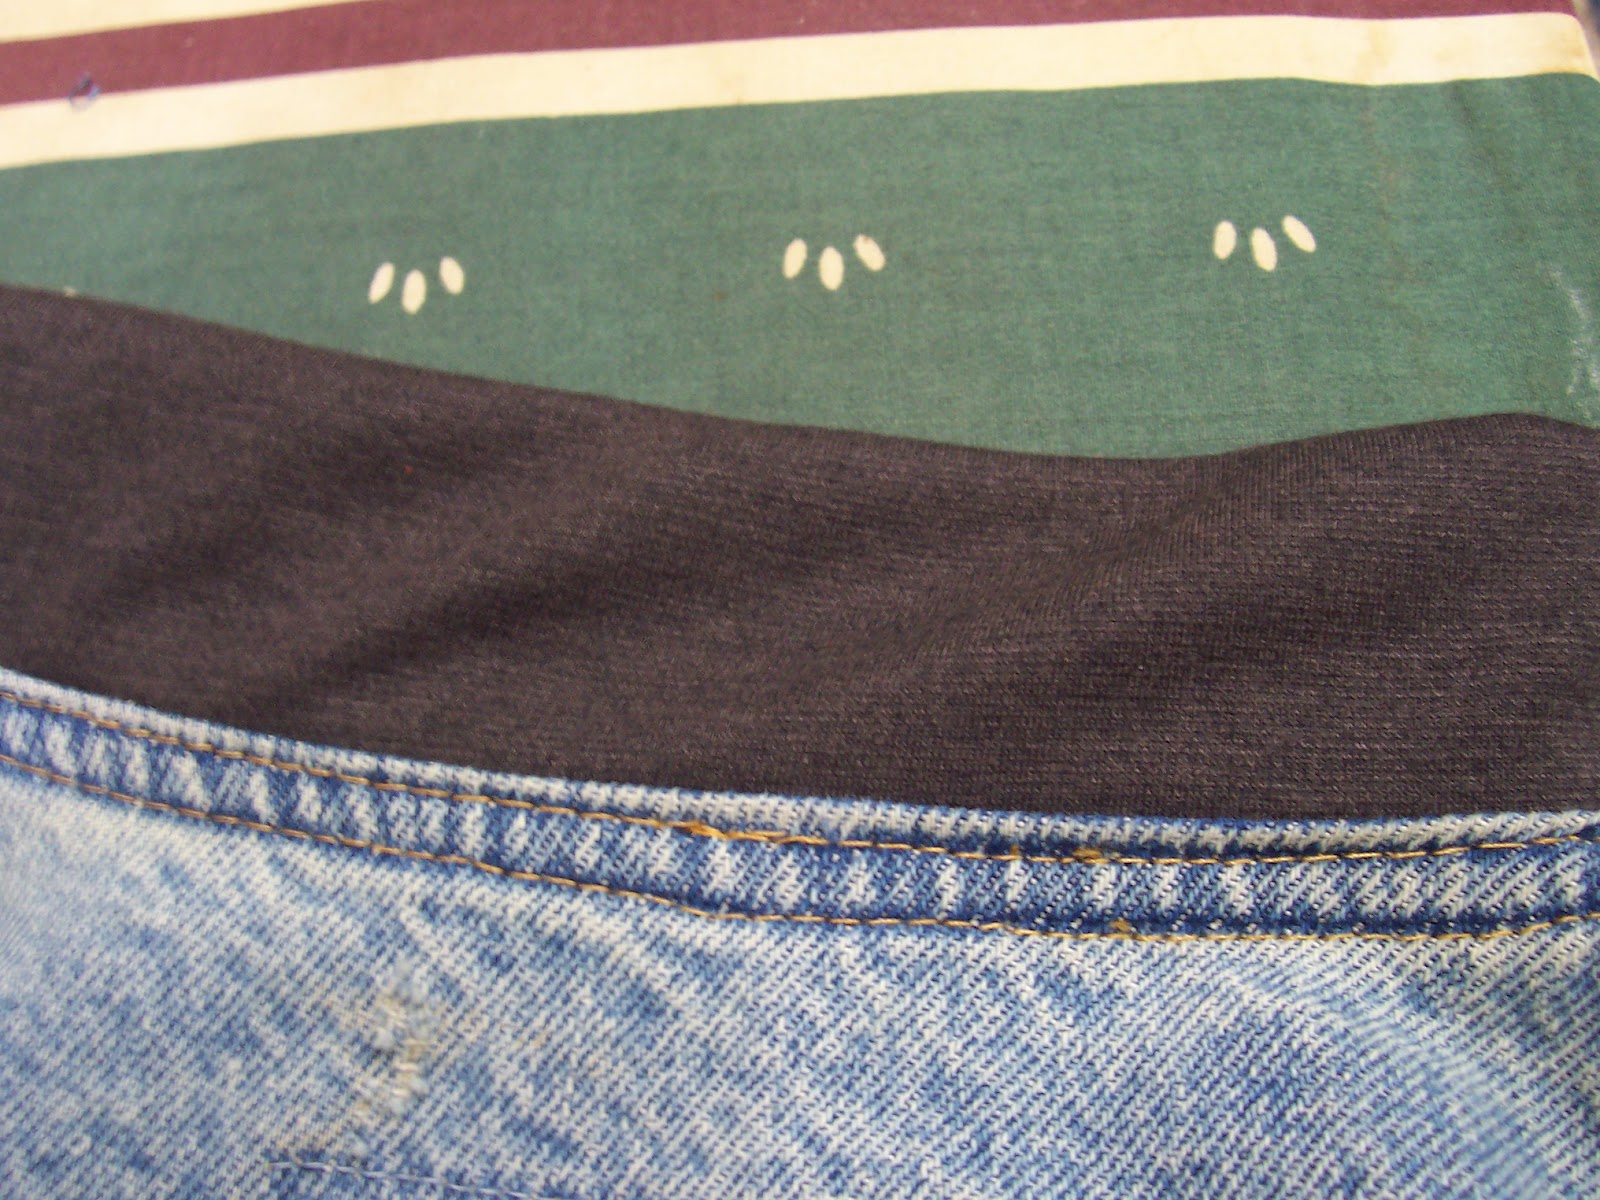
Next do the waist band using the same method as the collar.  I measured the old waist band (long ways) and added 1 inch to the measurement doubled the width because you will fold this in half to make the new waist band. For example the old piece was 18 inches long and 2 inches wide, cut one piece that is 19 inches long and 4 inches wide.  You will be folding this in half pressing, the new piece  will be 2 inches wide and 19 inches long (just an example).  Remember to fold the waist band and the jacket to find the center point of the back. Pin waist band to the each side of the jacket and keep finding the half way points of the jacket and band, pinning together while stretching the waist band to fit, until evenly distributed across.  Work your facing pieces like you did previously with the collar. Stitch across, surge or zigzag to finish the seam. Press seam up. Do the top stitching changing thread colors like you did for the collar. 


New Cuff and Jacket Sleeve
Jacket Sleeve

Now the cuff--measure around the old cuff at the top,  add one inch to the measurement. If  the old cuff was too tight now is the time to correct that and add desired amount to correct this.  Measure the width of the cuff and double that( you will be folding the cuff). For example your new cuff needs to be 10 inches around and 2 inches wide.  You will need to cut two pieces 4 inches wide and 10 inches long.  You need one new cuff for each sleeve. Sew one piece of the cuff together the right side of the fabric facing each other.  Now sew the second cuff  the same way as the first one. Carefully press this seam.  Now fold in half so the seams are on the inside of the cuff you will now have 2 separate tubes that are 9 inches around and 2 inches wide(your measurements may be different).  Carefully press these 2 new cuffs.    Fold cuffs in half place pins at the top of the cuff(raw edges of fabric) fold again and pin again (left top picture). Pin the sleeve of the jacket the same way(right top picture).  Now put the new cuff on the jacket right side matching and pin in place match all the pin placements, stretch cuff to fit sleeve.

Sleeve With New Cuff
Stitch like the collar and the waist piece.  You will not have any facings to work with on the sleeves and top stitching on a sleeve is usely not done.  Surge or zigzag the seam to finish it and press sleeve up toward the inside of the sleeve away from the opening.

Finished Jacket with new Collar, Cuffs, and Waist Band.


Sunday, September 23, 2012

Adding To The Harvest

My garden is still producing and today I picked tomatoes, peppers, and dug 15 pounds of potatoes. 

I still have more potatoes to dig.  I will get it all done in between everything else that is going on.

I have a ton of peppers to do something with.  I think it is time to start chopping and freezing them.  I  freeze them on cookie sheets then bag them in small bags.  I use my vacuum system so they keep in the freezer a long time, sometimes I have so many they will last 2 years.

I only cook for 2, but I cook every meal so anything I freeze and pressure can helps with meal planning.  It also saves a lot of money.  Grocery shopping is not my favorite thing to do so I stock up when I do have to go.

My intentions of starting fall cleaning are still there and I am making very slow progress in that area.
I am still in the reorganizing phase right now and am finding several items to be mended.  I am catching that up.

When I do get started cleaning my husband will disappear to his building and to the farm, he hates that time of the year.  I loose him at least two times a year, but he always shows up at meal time.


Friday, September 21, 2012

The Things I Have Delayed In Doing.

It is here!  All the things I have placed on the back burner and labeled I will get to that later.  All the chores I have done during the busy summer giving them a hit, lick, and a promise(as my Mother always said) have to start being done.

All the fun stuff, cleaning out closets, drawers, cabinets, we all have those fun things that need to be done.  Who wants to look at all this  all winter long?  Not to mention washing wall, cleaning floors, window coverings to be cleaned, and the dreaded windows to be washed.  Fun, Fun, Fun!!!!!!!!!!!

I did some small jobs yesterday.  There will only be time for a few today.  My husband has an appointment with the doctor.  He has traveled all over the world(work related), but mention doctor and it is not a task he can perform on his own.  I will gladly go with him, it is not me that has to be weighed, probed, prodded, and questioned.

We still have garden waiting to mature and be harvested, hay to be cut and baled again, and fall calving to be cycled through.  Last summers heat messed up the breeding cycle and I am afraid this year will be the same.  Weather plays a big part in all our lives, but it makes life interesting.  I am just grateful for anything our garden produces, our calves that are born and all the delayed chores to be done.  It keeps us busy and we all need a purpose in life.

If you retire  just sit down and do nothing, it gets pretty boring.  We retired to keep working.

Wednesday, September 19, 2012

Lightning Benefits Your Garden

One of my husbands friends told him this morning that lightning during a rain storm adds nitrogen to the soil when the rain falls.  In short it its true.  I went to the Internet and found several sites with information on it just Google--How Lightning Benefits Your Garden.

The temperature only went down to 43 degrees last night, so I was thrilled about that.  The windows are open today so the air conditioner can get some rest.   I should have started fall cleaning today, but I have some things to get cleaned up outside, it can wait a few more days.


Tuesday, September 18, 2012

Will my garden beat the first frost?

Listening to the weather report for our area I am beginning to realize, my garden is getting close to being done for the year (a low of 39 tonight).  Autumn officially starts September 22 this Saturday.  It will be the earliest start to Autumn since 1896.  I wonder if their overall weather was as weird as ours has been this year?

There are still several items growing I am not ready to give up on.  Tomatoes and Lima beans are just now starting to produce.  I am going to wait and see if they beat the frost.   They struggled through all the heat.  I will just wait and see what happens. In Southern Indiana summer heat is not uncommon.  What hurt us was the total lack of humidity.  

Gardening is a gamble.  Just like life and you just have to keep going. 

An update on the new calf.  Mama and baby are thriving.  The little thing is already at a full gallop(my husbands description)  in the pasture.  Hopefully the rest of the cows will deliver soon so there will be little friends for it to play with.


Monday, September 17, 2012

A Rainy Monday

I have never liked rainy Mondays until now!  After the heat and extreme drought here in Southern Indiana rainy Mondays are a blessing. 

It is too late for all the farm crops and gardens this year but it is definitely a big building block for next year.  So far we have received 1 inch of rain and maybe we will get more.

A rainy September Monday is the perfect time to catch up on inside jobs that have been put on the back burner all summer.  I have managed to get quit a few small items caught up today.  It is time to start transitioning back into a routine that will not include gardening everyday. 

Time to get garden tools cleaned up and stored.

Sunday, September 16, 2012

When To Harvest Sunflowers


 The pictures of the sunflowers were taken approximately 10 days before I harvested them.  My daughter-in-law took these for me and I think she did a really good job on them. 

The sunflowers are ready to harvest when the heads drop over and they will start to look wilted.  You can let them dry on the stalk and take your chances with the birds and mother nature.  Tropical Storm Issac was headed our way with much needed rain, luckily all but 3 were ready to harvest.  The rows in my garden are 60 foot long so I had several to cut and hang to dry. 

I use garden shears (hand held) to cut them.  These sunflowers were 10-12 feet tall making it a challenge for someone 5 foot 2 to get them cut.  The easiest way for me to get the job done is grab the stalk as high as I can reach, pull them over, and then cut them off. 

They do need to be hung up to dry out(cure) before they will release their seeds to be harvested.  I tie the cut sunflowers by the stalk using natural unpolished hemp rope to the outside of an open air awning my husband uses to store fire wood.  They dry just fine being exposed to weather.

Watch them and when you see seeds start to fall start shelling them out.  Rub the heads of the sunflower with your hands(wear gloves) or against an old window screen and the seeds will come out pretty easily.  There is no right or wrong way to get the seeds to release, just whatever works best for you.


Saturday, September 15, 2012

Newborn Hereford Calf

Well the first of the fall calves is here.  My husband went to move hay and called to let me know we had a new addition.  I just love new calves, so I grabbed my camera and went to the farm.  I babysit while he moved hay.  She was cleaning the calf and I had to watch to make sure the baby got on its feet and nursed to get the colostrum immediately. 

Baby is nursing and Mama is fine, tending to her calf and eating grass.  It is amazing how gentle these Hereford Mama's are she was just gently stepping over the calf and nipping grass.


I stayed on the other side of the fence and took my pictures.  Our cattle are so tame it is hard to work with them at times, they want to be petted.   When they are calving we leave them alone they know what to do.   If there is a problem then we will step in and deal with it.

Friday, September 14, 2012

Gathering Shell Bark Hickory Nuts

This spring our Shag Bark Hickory Nut Tree was loaded heavy with nuts.  With the drought they started dropping early and were hollow(no nut meat).  We did get some rain this summer and the nuts that are dropping now do contain nut meat. 

I keep them picked up daily( I do leave a portion of my crop for the squirrels).  After a few days the outer shell can be removed and the inner nuts are stored in a bucket for at least 2 weeks to cure.


With Outer Shell.


Outer Shell Removed
Size comparison with Quarter
Shag Bark Hickory Nuts are different from regular Hickory Nuts they are larger.  They are all hard to crack and harvest the nut meat.  I use a vise just to get them cracked.  Let them set for 24 hours and the nut meat will shrink and they are easier to remove.

I mainly use ours to make pies.  Instead of Pecans I use Hickory Nuts.  All Hickory Trees are members of the Pecan Tree Family. 

Thursday, September 13, 2012

Our garden is located at our small Hobby Farm, and it is sandy soil. I do keep one tomato trellised in a raised bed at our house that I baby through frosts to extend the season.  I will not give up on them until a hard freeze has hit and I know tomato season has ended.  We installed my husbands trellis system at the garden this year They did not grow as tall as we hoped because of the extreme heat but I will definitely have all of them trellised next year.  As you can see from the picture, he used cattle panels and steel posts.  Any trellis system will work, I prefer it over the cages, just takes a little time to train them up the panels.  We had much less bottom rot on the tomato and they are just easier to pick. 

 Due to the drought of 2012 I did not have an abundance of produce to can this year. There are more empty canning jars than there are full, but as we all know that is just part of being a gardening. 

To date I have  8 quarts  chili base frozen and 22 quarts of green beans.  I do have a 5 gallon bucket of tomatoes ready to juice and then can. 

I am hoping my Lima beans produce so they can be canned before frost.

All the sunflowers are cut and hung up drying.   Potato vines are just now dying off with some still blooming it will be interesting to see how they did.

Visit often.